V2RayNG Tutorial (Android)
Getting started
Download the VPN configuration files to your phone from the link you were provided. It should look like this: https://files.unixfy.net/d/......
You can download each of the .json files individually or download it as a .zip and then extract the archive.
Download the V2RayNG client
V2RayNG will allow you to connect to the VPN server and route your traffic through it.
Download V2rayNG (from Google Play Store)
Run & configure the V2RayNG client
1. Get started
Open the V2RayNG app on your phone.
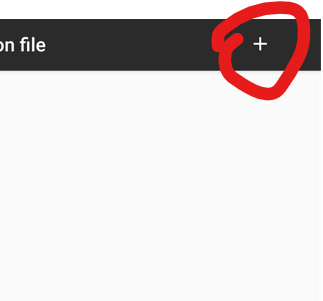
Tap the "+" icon in the upper right corner.
2. Import configuration
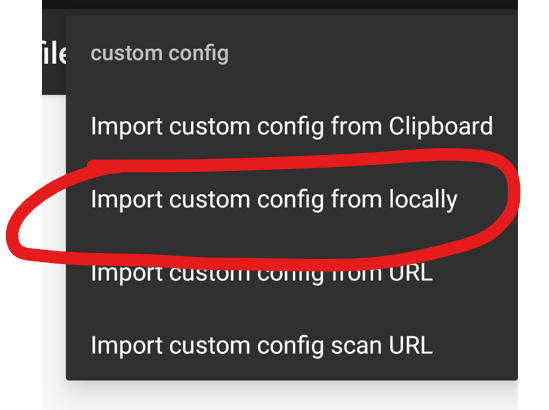
Tap Custom config > Import custom config from locally. Then a file picker will open.
Tap one of the .json files you downloaded earlier. A message will show saying "Success" if the file was successfully imported to the V2RayNG app.
Repeat this step for each additional configuration file you would like to import.
3. Connect
In the app, tap the configuration file you would like to activate.
Then tap the small gray "V" button in the lower right corner.
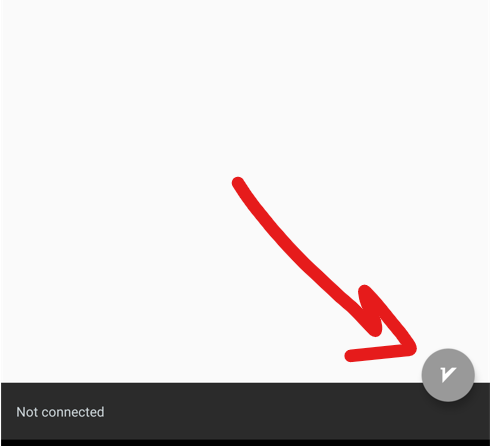
You may be prompted with a warning from Android that V2RayNG is attempting to establish a VPN connection. Click "OK" or "Accept" on this prompt to allow the connection to be established.
Once the "V" button turns green, tap the black bar that says "tap to check connection". Once you get a message like "Success: HTTP Connection took 900ms", congratulations! You are now connected to the VPN.

Verifying VPN connection
You can check that you are connected to the VPN by visiting a website like WhatIsMyIP.com. The IP address returned by the site should NOT be your normal home/work/etc. IP address.